Table of Contents
- 🎨 What I built and why it matters
- 🧩 How the app works in plain terms
- 📸 Photography analysis and composition fixes
- 🧠 Style control and one-shot power
- 🚀 Why Nano Banana Pro and Gemini 3 are useful together
- 🛠️ How I built the cartoon generator (step-by-step)
- 💡 What vibe coding actually means in practice
- 📐 Rule of Thirds and automated reframing
- 🧭 Practical use cases: who benefits
- ⚖️ Limitations and guardrails I keep in mind
- 🔧 Tips for building robust prototypes
- 📣 Example prompt recipes I used
- 🧪 Iteration case study: from first try to polished output
- 🔍 On the role of human oversight
- 📈 Model improvements over time and why that helps teams
- 📚 Practical recommendations for teams
- 🧾 A few real examples of prompts and outputs I liked
- 🌍 Broader implications and where this tech goes next
- 🛡️ Safety, policy and ethical considerations
- 🔁 Quick checklist for a one-shot prototype
- 🧰 Tools and keywords to use when prompting
- 🙋 Frequently asked questions
- 🏁 Final thoughts
🎨 What I built and why it matters
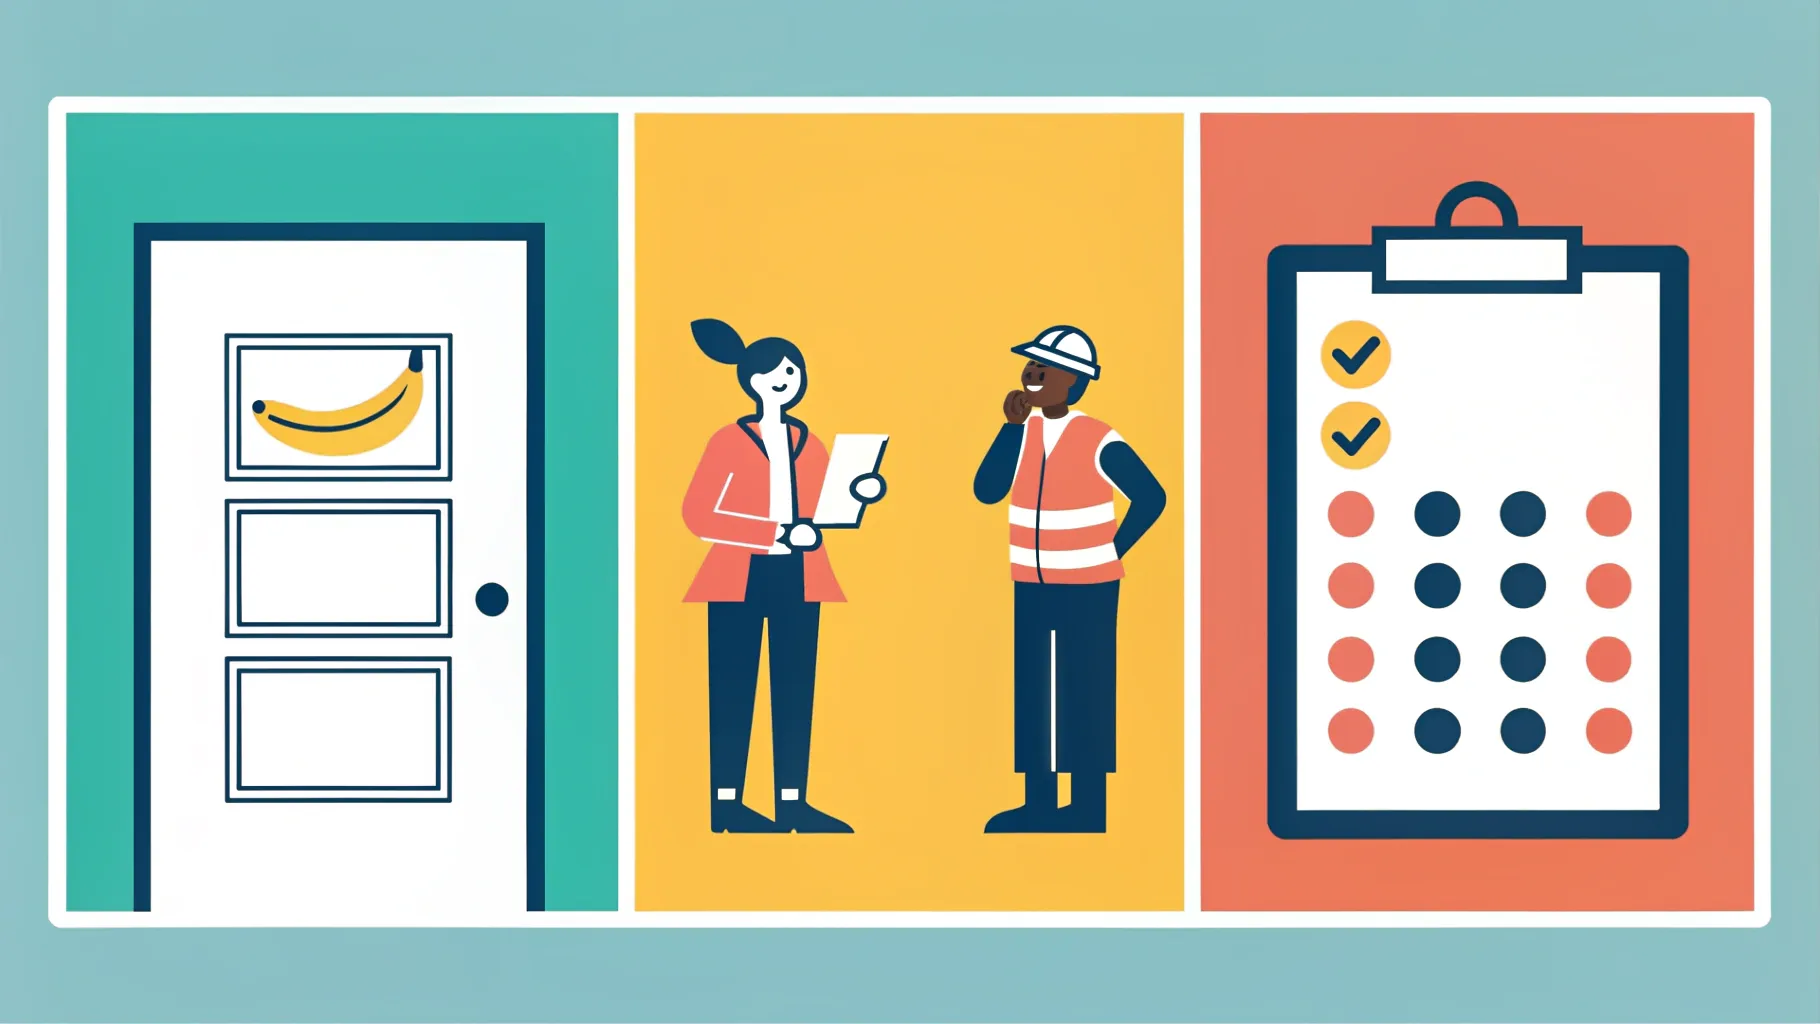
I made a tiny app that turns a cheeky office complaint into a fully styled airline safety card cartoon. The prompt I fed it was simple: "Amar stole my conference room". What the model returned looked and felt like a real safety-card illustration—complete with a clipboard, a request form and the sternly cheerful icons you'd expect on an airplane.
That’s the short version. The longer one is that this small experiment shows how far multimodal models and style control have come. Using Gemini 3 together with the new Nano Banana Pro model in AI Studio, I was able to prototype an interactive app with just a couple of prompts. The result is playful, instantly recognizable and surprisingly consistent.
🧩 How the app works in plain terms
The app has two main features: a cartoon generator that follows a very specific style (airline safety card) and a photography analysis tool that evaluates and suggests compositional fixes. Both are built around the same idea: give the model an explicit prompt, optionally supply an image, and let it output either new visuals or an edited version of the original.
For the cartoon generator I used a one-shot prompt approach. One carefully written prompt produced a complete safety-card style illustration that told the story of a coworker taking over the conference room. For the photography tool I uploaded a photo, asked the model to critique it against composition rules, and then requested an edited version that better followed the Rule of Thirds.
📸 Photography analysis and composition fixes
I tested the photography tool on a shot I took in New York. The model evaluated it, gave it a score (I got a 68), and then suggested how to improve its alignment with composition standards like the Rule of Thirds. The model did more than reframe the crop; it adjusted camera angle and kept architectural details and color consistent across the edit.
That kind of applied, context-aware editing is where these models start to feel prograde. Instead of just cropping, the model preserved the identity of the buildings, the foliage color and the overall mood while nudging the layout toward a stronger composition. That consistency is what turns a neat toy into a useful tool for photographers and content creators.
🧠 Style control and one-shot power
One of the things I love about building with these models is how specific you can be about style. In this case I asked for an "airline safety card" look and the model nailed it—clear iconography, minimal text, and the exact type of instructional vibe you'd expect. That level of style control used to require hours of iteration or a ton of training data. Now it can be done in one or two strong prompts.
"I vibe coded this app in two prompts."
That quote captures something important. Vibe coding—writing prompts that encode a mood, layout, and intent—lets you iterate quickly. I didn’t write rendering pipelines or handcraft vector assets. I told the model what I wanted, and it responded with a coherent design. That speed is a game changer for prototyping and storytelling.
🚀 Why Nano Banana Pro and Gemini 3 are useful together
There are too many model names floating around, so here’s how I think about them for this kind of work. Use Gemini 3 for broader reasoning and multimodal orchestration. Use Nano Banana Pro when you want tight stylistic control and high-fidelity image edits or generation.
Historically, older models could do parts of this. But over the past nine months the improvements in consistency, visual coherence, and world knowledge have been dramatic. Tasks that used to be error-prone are now reliable. That means fewer iterations and faster prototypes.
🛠️ How I built the cartoon generator (step-by-step)
Building the cartoon generator wasn't a formal engineering project. It was prototyping with intent. Here's the pattern I followed, expressed in plain steps so you can reproduce it if you want:
- Prepare a strong, economy-of-words prompt that includes: setting, style, key actions, and the tone. Example: "Create an airline safety card style cartoon about Amar taking my conference room. Include iconography: request form, clipboard, pen; show me crying behind boxes in a humorous, not mean-spirited way."
- Select the Nano Banana Pro model and set the output to image generation with a high stylistic adherence parameter.
- Optionally provide a few reference images or style words to reduce ambiguity: "safety card icons, flat color palette, instructional tone."
- Ask for multiple variations and a short text label for each panel so you can choose the best one.
- Iterate quickly by adjusting just one constraint at a time: color palette, camera angle, or formality of the text.
The upshot is you can go from idea to shareable visual in minutes. That speed lets teams prototype messaging and internal humor safely and with real visual polish.
💡 What vibe coding actually means in practice
"Vibe coding" is a phrase I picked up while building. It means encoding not only the what but the how—tone, visual language, implied motion, and emotional register—into the prompt. Instead of saying "create a cartoon of me and Amar," vibe coding says:
- Where it takes place: conference room
- Style constraints: airline safety card, flat colors, minimal text
- Key props: clipboard, request form, pen
- Tone: playful, slightly exasperated, not aggressive
That combination gives the model a compact "design spec" to follow. It's a small discipline that pays big dividends in output quality.
📐 Rule of Thirds and automated reframing
The photography tool was especially interesting because the model did reframing while preserving context. I asked it to "reframe to follow the Rule of Thirds" and the output was a subtle shift in camera angle that placed the main building and horizon closer to the grid intersections.
That involved more than cropping. The model inferred depth, perspective and the relationship between foreground elements and background architecture. It adjusted where necessary and made sure colors and lighting stayed consistent. For photographers, that means a faster route from a good shot to an outstanding one.
🧭 Practical use cases: who benefits
These tools are useful in a surprising number of contexts. Here are a few where I see immediate value:
- Design teams who need rapid visual mockups that capture tone and layout without a full designer sprint.
- Content creators and social media managers who want consistent visual styles for recurring jokes, series, or brand components.
- Photographers who need composition suggestions and automated reframes that preserve subject integrity.
- Product teams prototyping internal easter eggs, onboarding illustrations, or playful microcopy tied to visuals.
⚖️ Limitations and guardrails I keep in mind
Models are powerful, but they are not perfect. Here are the main caveats I consider every time I prototype:
- Hallucination risk: The model can invent textual details or props if the prompt is ambiguous. Always check generated text and labels.
- Style leakage: If you don't constrain style tightly, the model might blend multiple aesthetics. Use reference words or images.
- Ethics and sensitivity: Anything involving real people, especially workplace humor, needs a human check for tone and consent.
- Ownership and IP: If you plan to commercialize outputs, verify the platform's content policy and licensing terms.
🔧 Tips for building robust prototypes
I treat each prototype like a tiny experiment. Here are practical tips I use to keep experiments fast and low-risk:
- Start with a single, tightly scoped feature. For me, that was the safety-card cartoon generator and the photography reframer.
- Use short prompts with explicit style tokens and example lines. If you want a "safety card" vibe, say it directly and add one sample phrase like "Initial resource requisition protocol."
- Request multiple variations to understand the model's range, then narrow with follow-up prompts.
- Log prompts and outputs. Small changes in phrasing can produce big differences in the result.
- Keep sensitive or potentially defamatory content out of automatic generation pipelines.
📣 Example prompt recipes I used
For people who like templates, these are the two prompts I used to create the cartoon generator and the photography tool. You can adapt them freely.
Cartoon generator prompt
Create an airline safety card style, three-panel cartoon about Amar taking my conference room. Use flat, bold colors, simple icons, and large readable labels. Panels: 1) Amar moving furniture with a smug expression; 2) me crying behind stacked boxes; 3) an illustration of a "request form" and clipboard with a pen labeled "Initial resource requisition protocol." Tone: playful, office-friendly, instructional. Output as PNG panels with minimal text.
Photography analysis and reframing prompt
Analyze this uploaded photo for composition, lighting, and focal points. Score it out of 100 against standard composition guidelines and provide a short explanation. Then generate an edited version that better follows the Rule of Thirds, adjusting camera angle and crop where needed while preserving building details, color tones, and overall mood. Provide a visual grid overlay showing the new composition.
🧪 Iteration case study: from first try to polished output
On the first pass the safety-card output was fun but a bit literal. Amar looked fine, but the clipboard was missing a clear label and the tone was slightly sharper than I wanted. A single follow-up prompt asking to soften the facial expressions and add a friendly label on the clipboard brought it into the right register.
For the photography reframing, the initial edit was a simple crop. On the second pass I asked for a slight perspective shift and for the model to retain the vertical lines of the buildings. That produced the version I ended up keeping because it respected architectural integrity while improving composition.
🔍 On the role of human oversight
Even with great models, human oversight matters. I always review:
- Text for unintended implications
- Faces and expressions for appropriate tone
- Image fidelity and alignment with brand or policy
Automated creative workflows are powerful, but they should augment human judgment rather than replace it.
📈 Model improvements over time and why that helps teams
The difference between the first generation of multimodal models and what I used for these experiments is not just incremental. It’s exponential in some respects. The model used to struggle with:
- Maintaining consistent object identity across edits
- Preserving color and lighting while changing composition
- Producing a narrow, recognizable style from a short prompt
Now those things happen reliably in one or two iterations. That frees teams to explore broader creative directions without getting bogged down in mechanical fixes.
📚 Practical recommendations for teams
If you’re thinking of experimenting with similar prototypes, here’s how I’d recommend you approach it:
- Define the minimal useful output. What's the smallest thing that delivers value? For me it was one safety-card panel and one reframed photo.
- Pick the right model for the task. Use Gemini for orchestration and Nano Banana Pro for images and style fidelity.
- Protect sensitive processes. Keep internal jokes or personal content behind controls and approvals.
- Measure iteration time. Faster iterations mean more learning and better final outcomes.
🧾 A few real examples of prompts and outputs I liked
Some outputs I shared internally were just for laughs but also informative. A safety-card panel that read "Initial resource requisition protocol" next to a clipboard resonated because it combined corporate language with a clear visual metaphor. Another useful output was a reframed photo that, after one edit, moved the focal building to a Rule of Thirds intersection and immediately felt stronger.
🌍 Broader implications and where this tech goes next
As models get better at style control and compositional editing, we'll see more cross-functional adoption. Marketing teams will prototype campaign assets faster. UX teams will illustrate flows without waiting for final art. Photographers will use models as an assistant for composition rather than a replacement for craft.
There will also be continuing debates about authorship and the right way to credit AI-assisted outputs. For now, the best practice is to be transparent when tools played a significant role and to keep humans in the loop for editorial decisions.
🛡️ Safety, policy and ethical considerations
Humor can be sticky. When you build tools that generate content about coworkers or real people, think about consent and tone. The same mechanism that produces a funny safety-card can produce content that feels mean or exclusionary if not checked. I keep three rules:
- Never publish personally targeted jokes without permission.
- Review outputs for bias or stereotyping.
- Respect company policies and public platform rules when sharing.
🔁 Quick checklist for a one-shot prototype
Here’s a short checklist to get a similar prototype up and running:
- Define target style in one sentence
- Write a one-shot prompt including core props and tone
- Choose Nano Banana Pro for images or Gemini for orchestration
- Request multiple variations
- Iterate once for tone, once for fidelity
- Human review for content and policy
🧰 Tools and keywords to use when prompting
When I write prompts I often include a few reliable tokens to guide the model. These are the ones that gave me the most consistent results:
- Style tokens: "airline safety card", "flat colors", "iconographic"
- Tone tokens: "playful", "instructional", "office-friendly"
- Action tokens: "reframe", "analyze", "preserve details"
- Composition tokens: "Rule of Thirds", "grid overlay", "perspective shift"
🙋 Frequently asked questions
What is Nano Banana Pro and why did you use it?
Nano Banana Pro is a high-fidelity image-focused model I used for style-sensitive generation and edits. I used it because it offers strong control over visual style, good consistency across edits, and the ability to follow specific design tokens like "airline safety card" with very little prompting.
How many prompts did it take to build the app?
I vibe coded the entire app in two main prompts: one for the cartoon generator and one for the photography analysis and reframing. From there I did a couple of quick follow-ups to tighten tone and composition. The initial prototype was extremely fast.
Can this be used for commercial projects?
Possibly, but you should review model licensing and content policies. Also consider intellectual property and consent if outputs depict real people or copyrighted material. Commercialization requires a careful review of legal and ethical considerations.
How does the model preserve details when reframing a photo?
The model uses context-aware editing: it infers depth, perspective and relationships between elements. Instead of bluntly cropping, it subtly adjusts camera angle and composition while maintaining consistent lighting, color and key structural details. That produces edits that feel natural rather than stitched together.
What are immediate use cases for teams?
Quick visual prototyping, social content creation, iterative product illustrations, and photography-assisted composition are great places to start. These tools shorten the path from concept to visual example, which helps align stakeholders and accelerate decision-making.
What safety checks should I add before sharing content?
Add a human content review step, verify any claims or text, run outputs through a sensitivity and bias review, and ensure permissions are obtained when real people are included. Keep a log of prompts and outputs to trace decisions.
🏁 Final thoughts
Building the "Amar stole my conference room" app was a reminder that small, focused prototypes can tell big stories. The ability to generate a specific visual style on demand and to perform context-aware reframing of photos is already practical. It lowers the barrier for teams and individuals to experiment with visual storytelling.
If you’re prototyping, try defining the vibe first, then write a short, precise prompt. Pick the model that matches your fidelity needs, and iterate once or twice. You’ll be surprised how far a little vibe coding and the right model can take you.


